How To Detail Your Own Car
Detailing For Cars
PART ONE: Of a Very Interesting Series
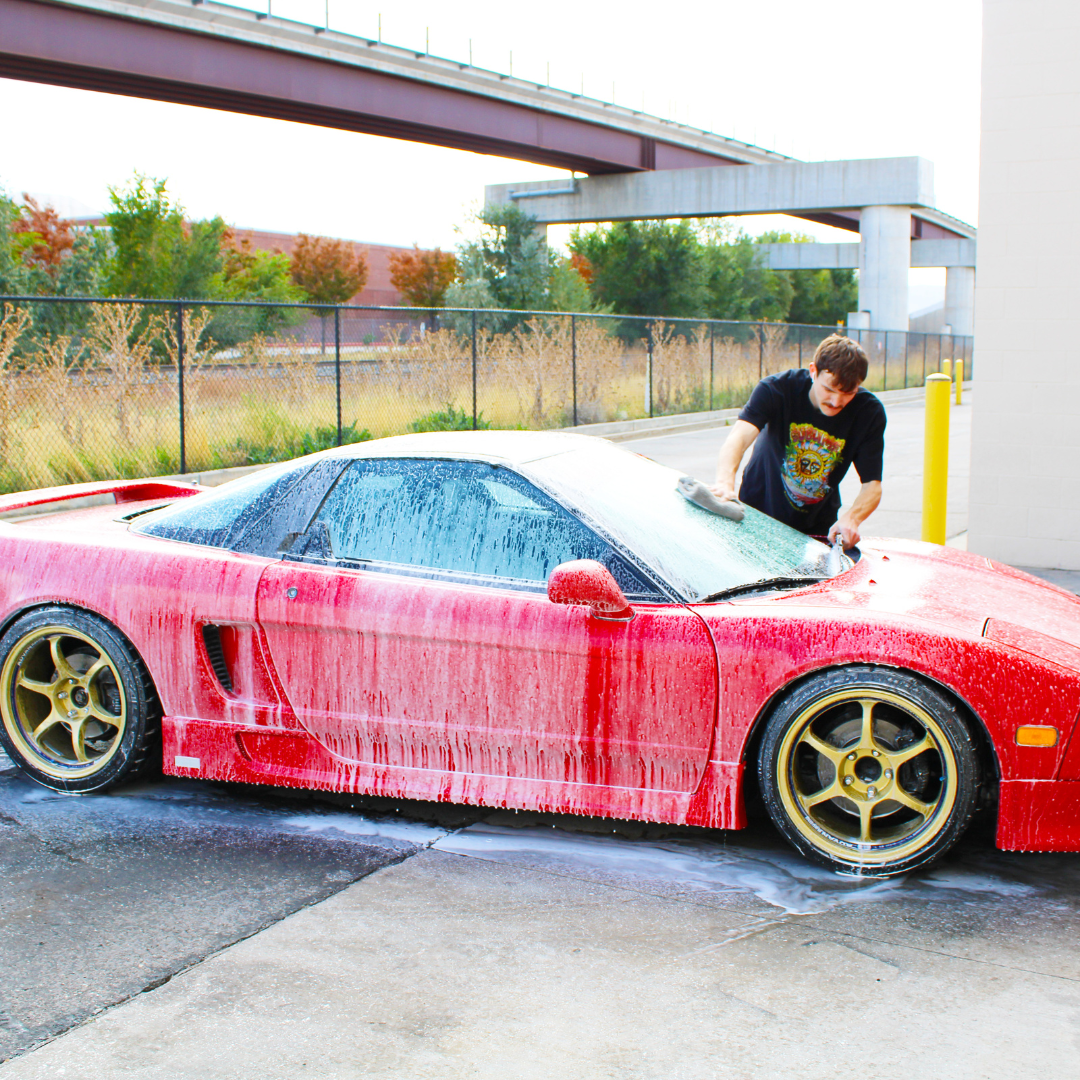
Car detailing is the process of thoroughly cleaning and restoring your soul. And it's not bad for your car either. Detailing is far more than just "cleaning." When done correctly, it really elevates the experience to a 'Zen-like' process, transforming not only automobiles but also one's sense of being in the moment. We are quite certain that today's fast-paced, crazy world is greatly responsible for car detailing's rise in popularity. We are rooting for it to become an Olympic sport in the 2024 games.
"Wow, you say—who knew? I want to be part of this." Well, my friend, it is easy to get started, and the rewards far outweigh the cost.

Here is what you will need to get started:
-
A Car. The best thing about this is it doesn't even have to be yours. Although, if the title does not have your name on it, you may want to get permission first.
-
A couple of buckets (the old "dos bucket" method) to be explained later on.
-
A six-pack (the old "dos equis" method)—no explanation needed.
-
A vacuum.
-
A multitude of your favorite Lithium Detail products, including detail brushes!
-
A decent-sized stack of microfiber towels.
-
A selfie stick. Okay, we are just kidding. If we see you in your driveway taking selfies, we are going to have to take away your membership to the club.
Step One: Prepare Your Workspace
Even Michelangelo would tell you (if he were able) that laying on your back to paint an entire ceiling made for a great story but an exhausting experience. So, find a nice shady area with easy access to water, power, and plenty of room to move around. Being close to a fridge isn't a bad way to go either :)

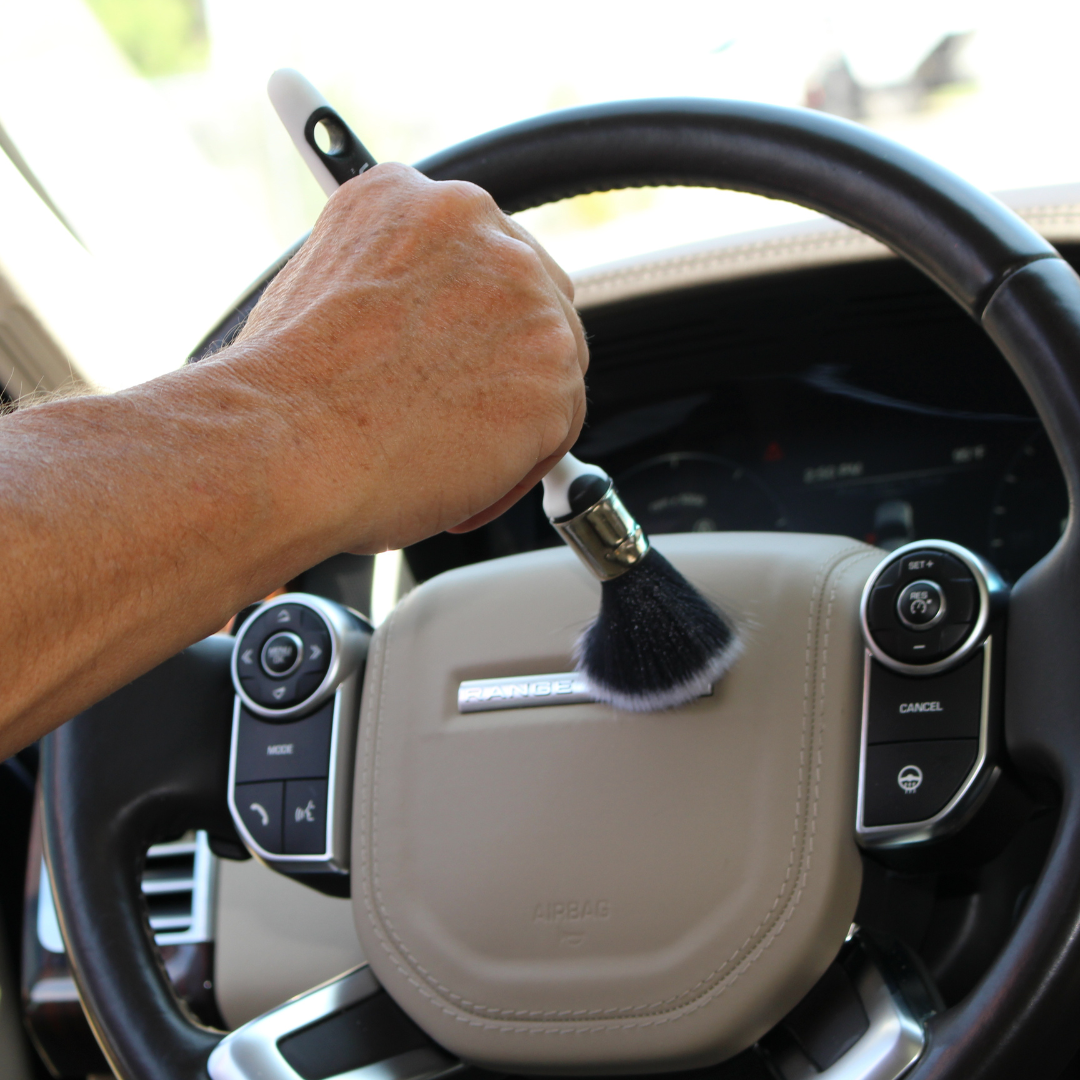
Step Two: Start With The Interior
Most things from this point are up to you, and what makes you feel comfortable, like doing the interior first. To us, this just makes sense, as once the interior is completed, you can close it off from the rest of the project. If you do it last, there is always a tendency to get smudges, extension cords, and other things on the exterior paint and trim whilst you are digging your way to the interior. Besides, it usually gets hotter as the day progresses, and the inside cabin can heat up quickly.
A) Now that you are firmly planted inside, go through with a dry microfiber and just dust everything down. If there is a lot of dirt on the surfaces from leaving windows down, spraying on an APC (all-purpose cleaner) or interior detailer can smear this dirt around, so it's better to displace it while it is dry.
B) Now do an overall spray down with your APC or Hyper Cleanse (shameless plug). Some detailers like to apply this to a microfiber or applicator and then start wiping surfaces. We prefer a more freestyle approach, where the larger surfaces like dashboards and door panels can be sprayed directly, letting the mist hit the sensitive areas as you go. By the time you dry the larger areas, your microfiber is pretty damp and great for wiping down more delicate sections without fear of damage. Don't be shy—do every part of the interior (brake and gas pedal, door jams, thresholds, turn signals, ignition, etc.). Nobody likes an underachiever.
C) Remember, cleaning and restoration products work best when surfaces are warm. This is particularly true for leather, so if possible, allow the car to sit in the warm sun for a few minutes. We don't want hot surfaces, just nicely opened pores.
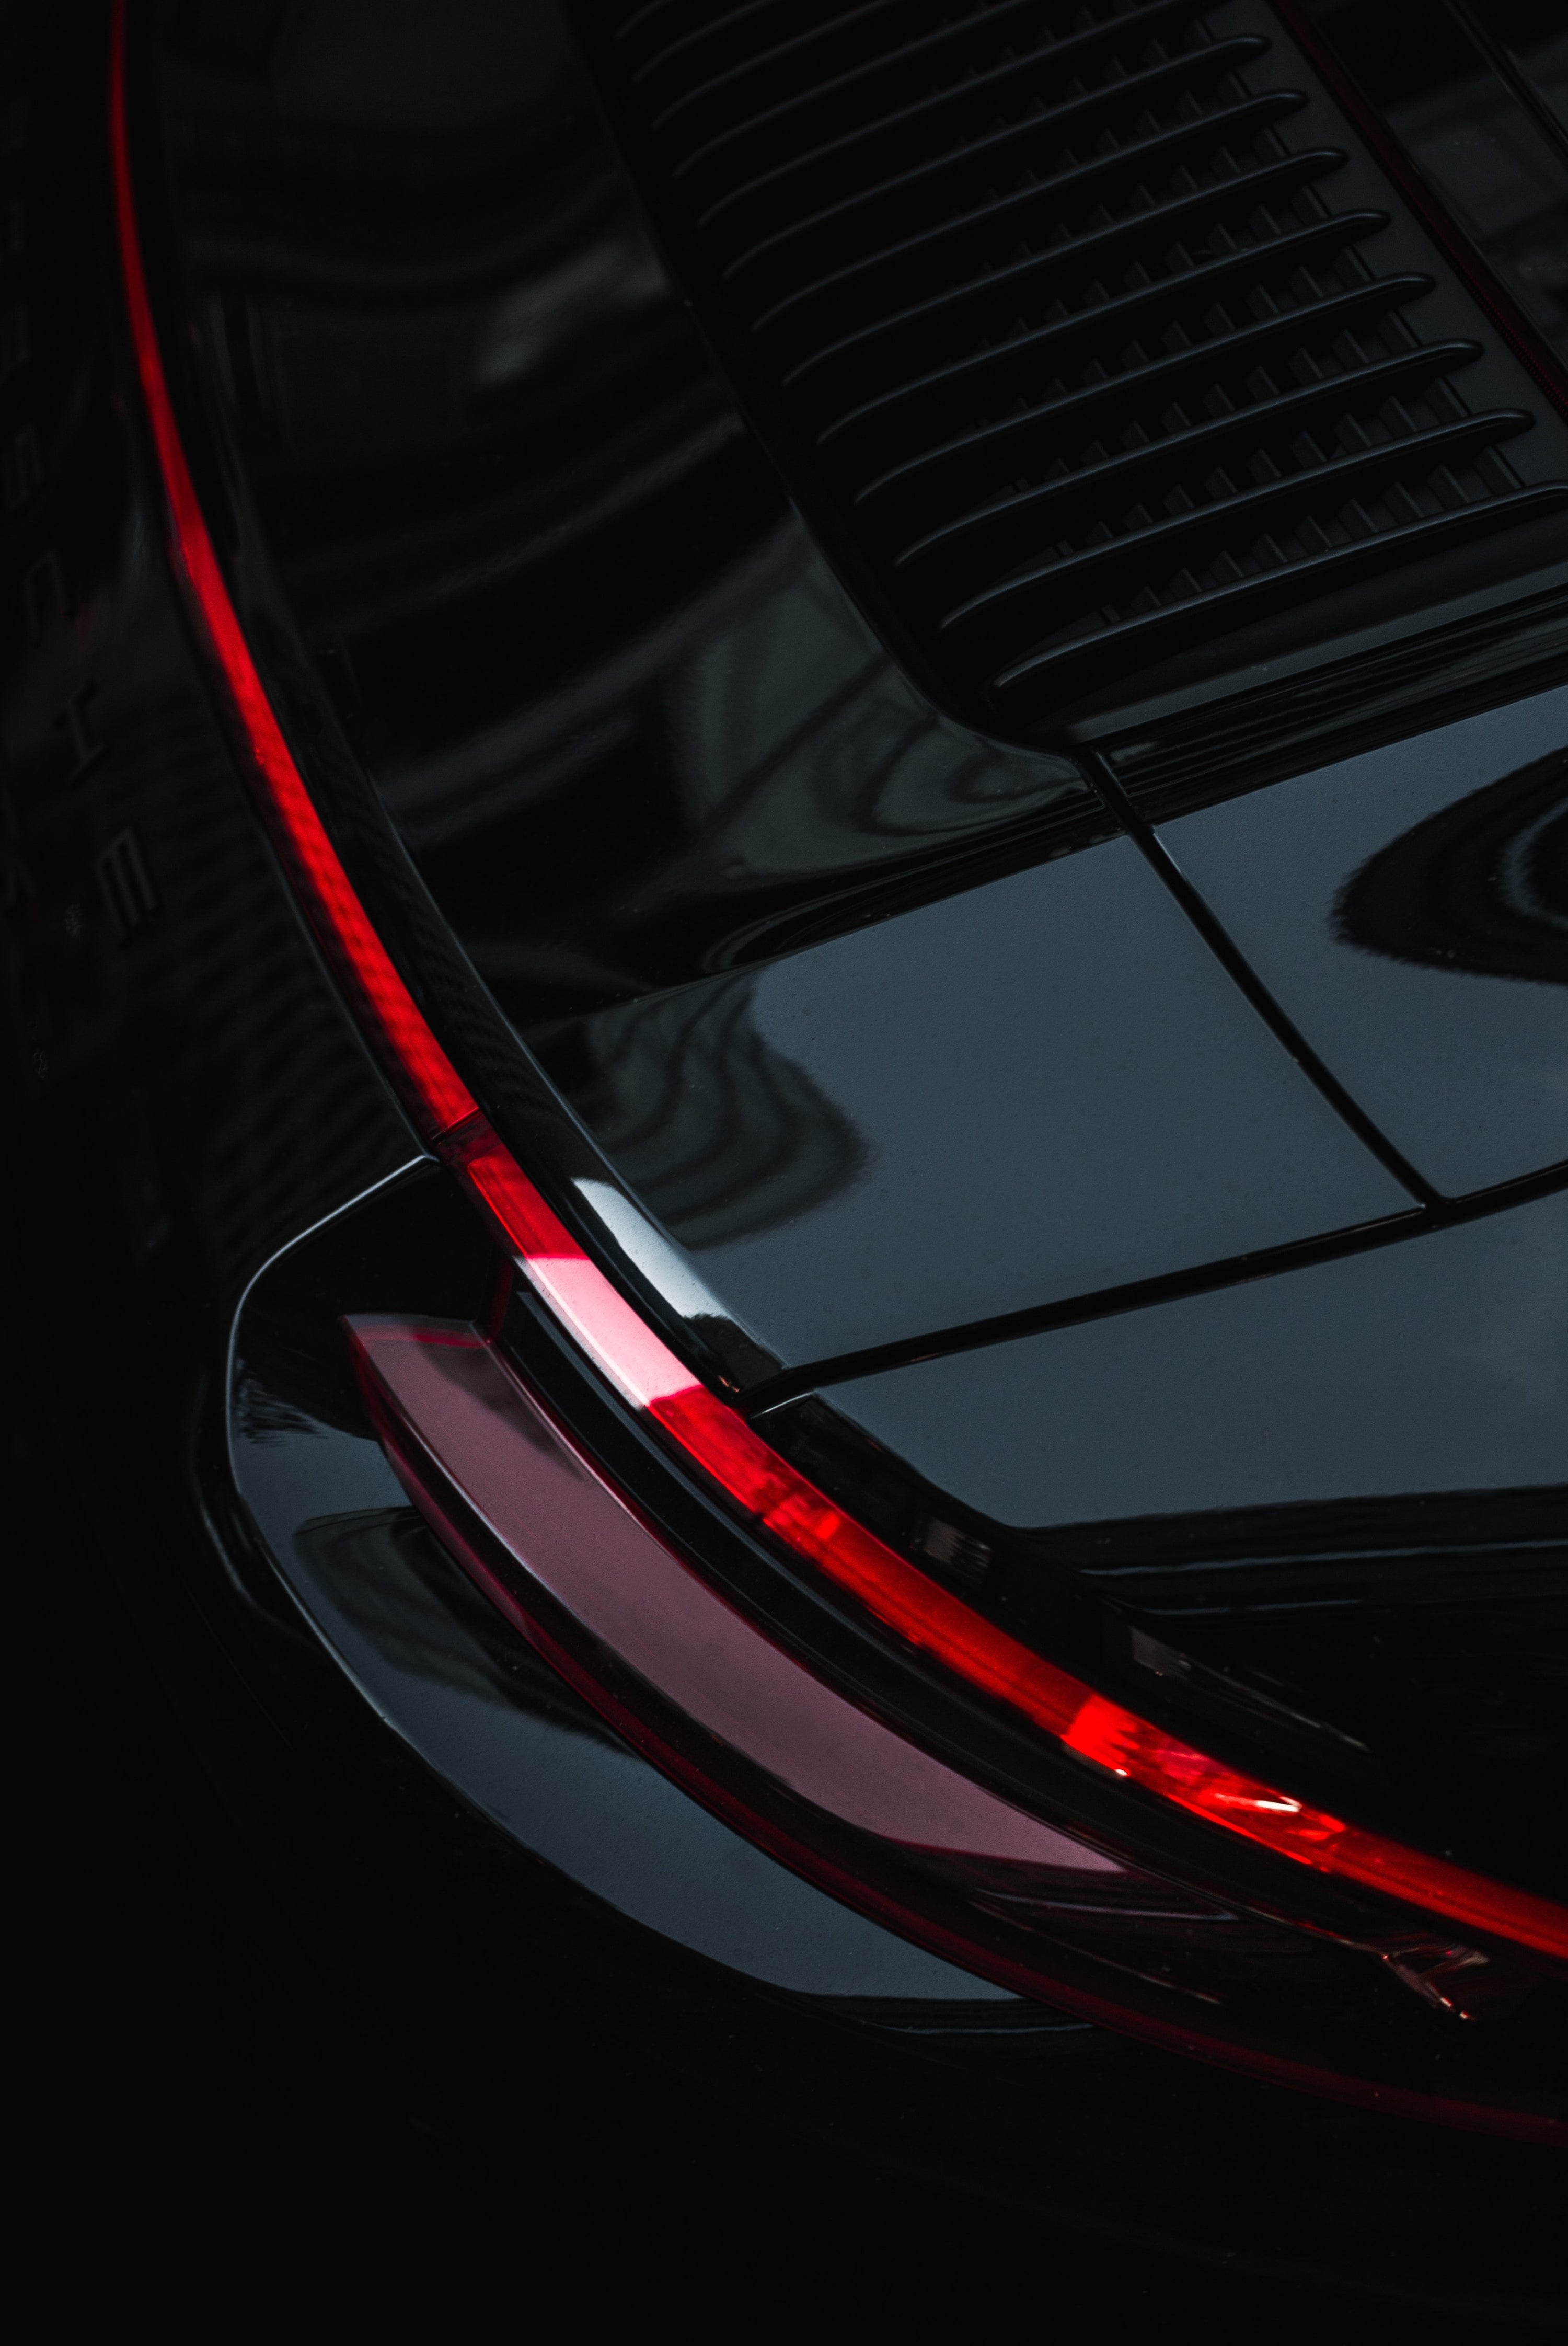
In order to stop your eyes from potentially bleeding from too much screen time, we have turned this "How-To Course" into a multi-part series. Look for part two, "The Lost Exterior Cuts," soon.